How to Clone Your Voice and Face with AI: A Practical Guide
The one-hour setup behind every AI avatar video, done right
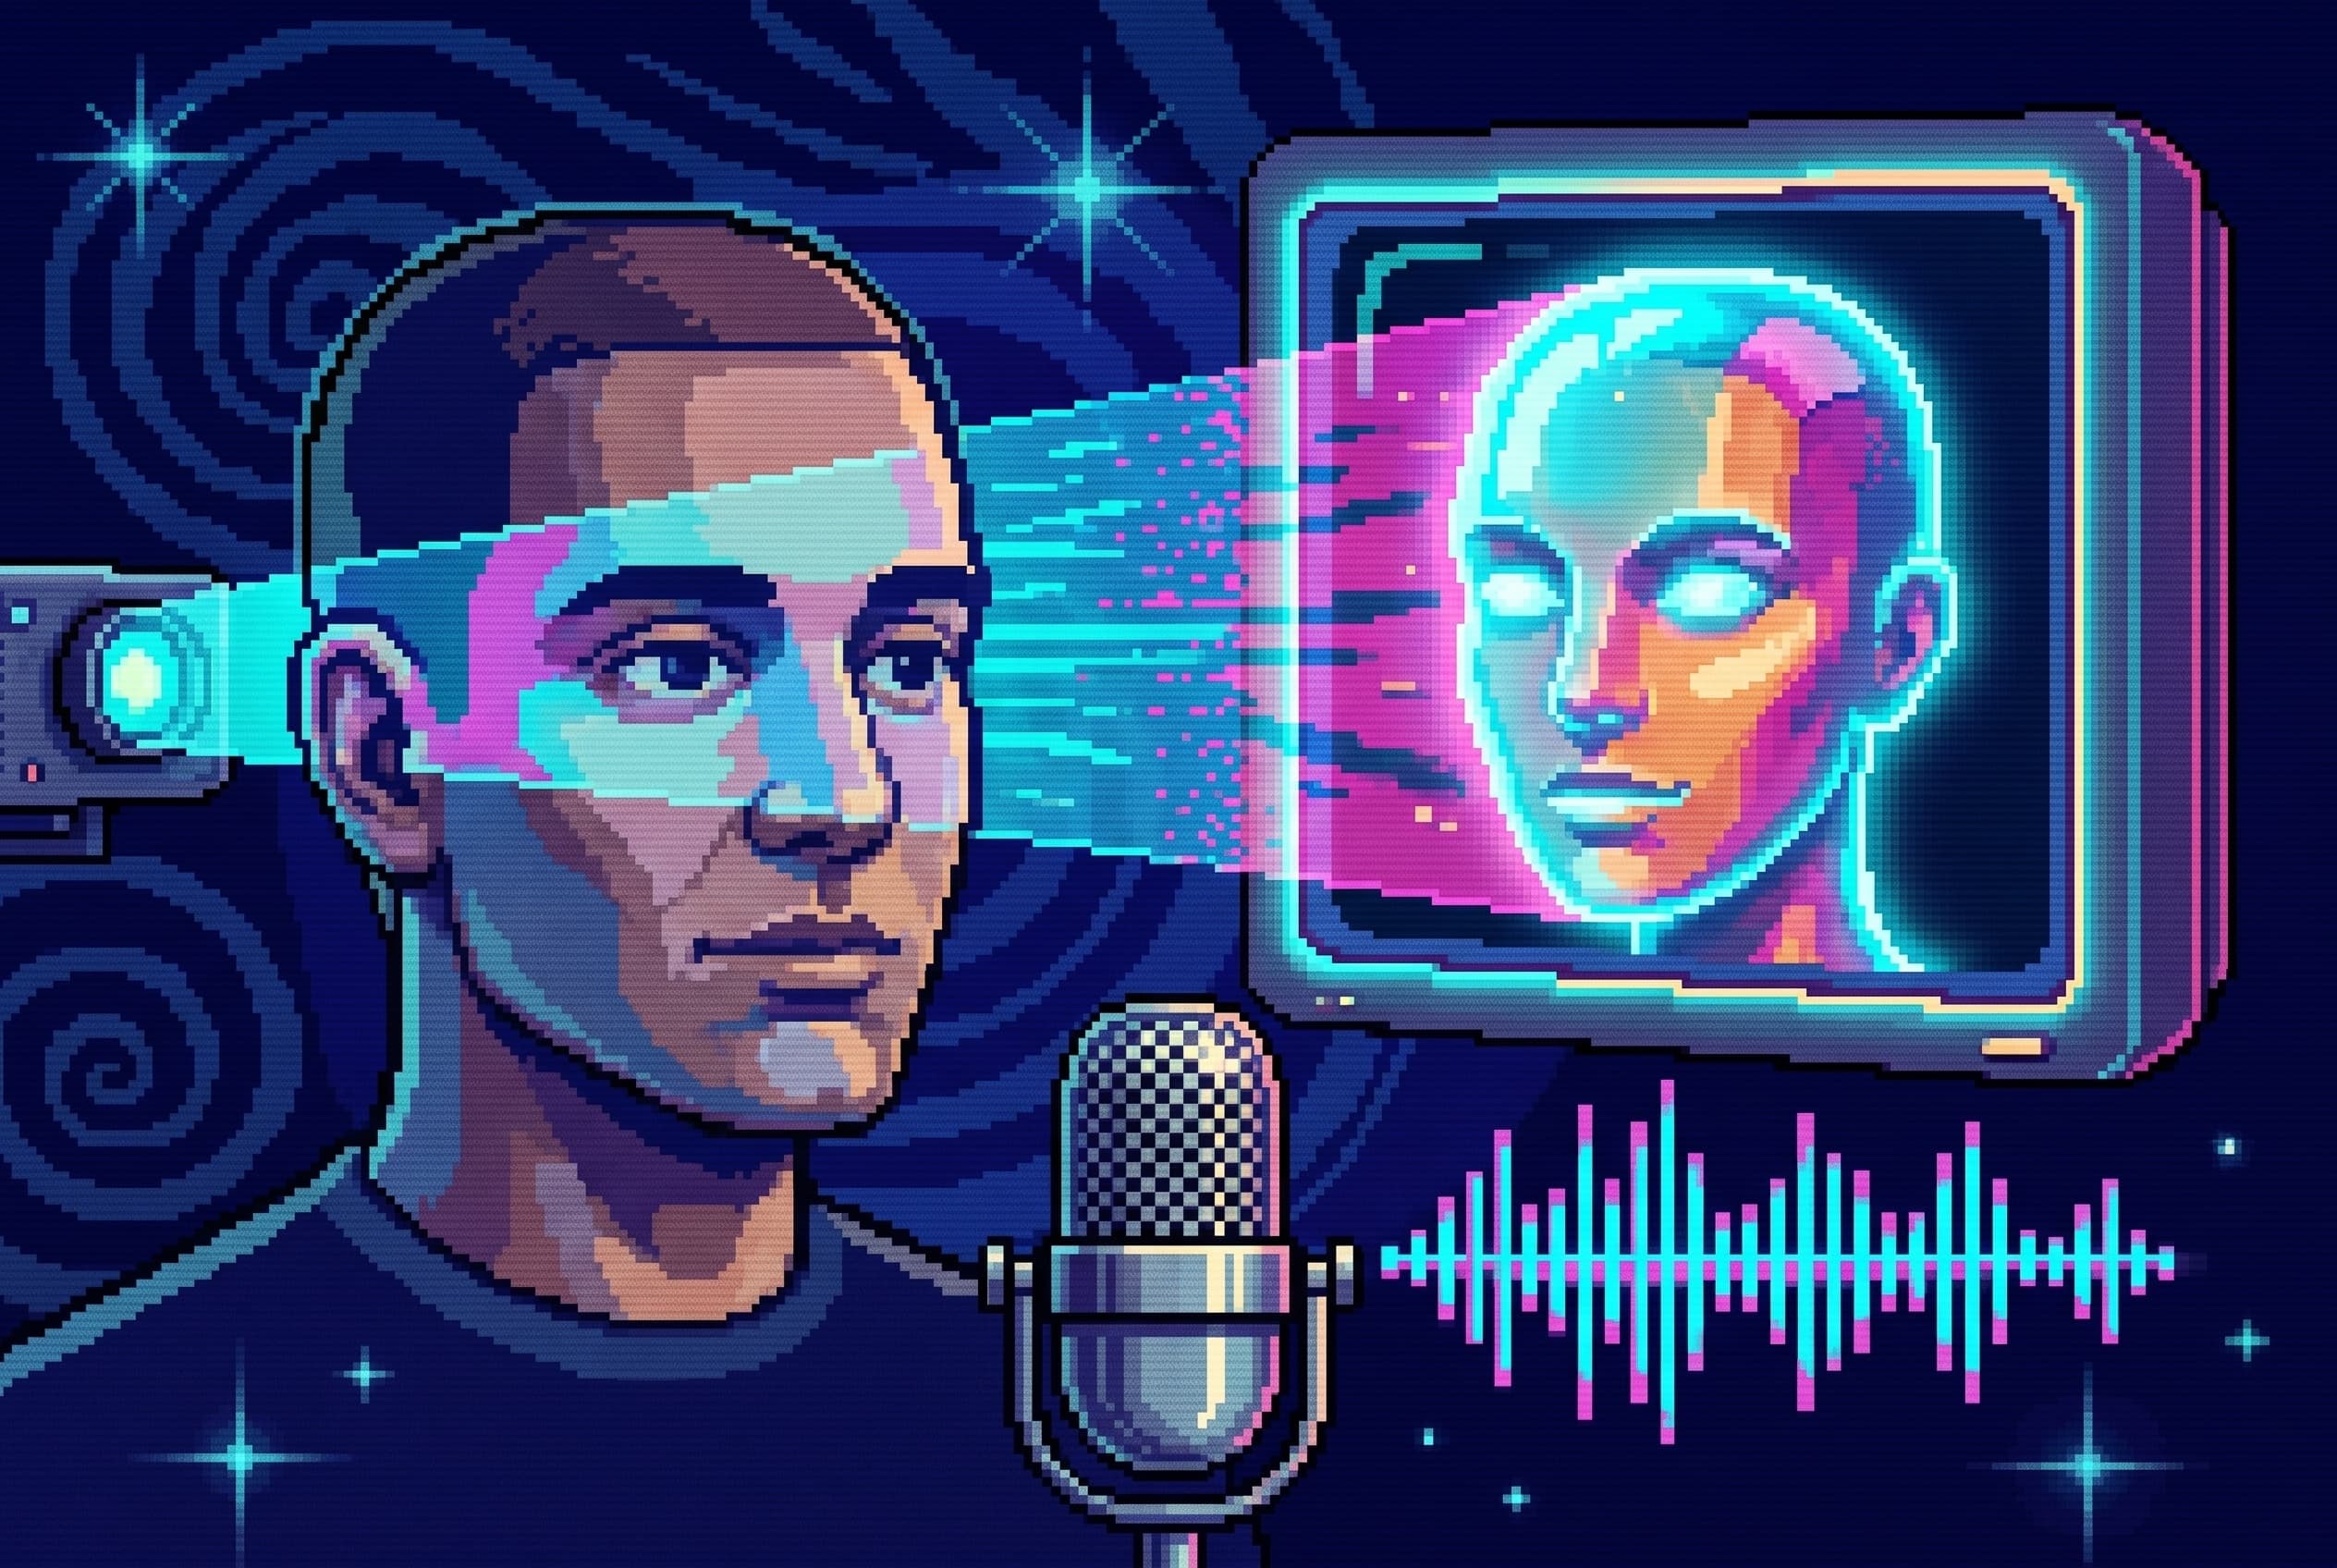
The two assets it all starts from
Every AI avatar video you've seen (the talking-head reels, the multilingual founder updates, the faceless-but-not-really channels) starts from the same two assets: a cloned voice and a set of avatar reference images. Get these two right and everything downstream (talking videos, reels, even interview formats) becomes a pipeline. Get them wrong and no amount of editing will save the result.
This is the exact setup I teach in the first session of my training programs, documented so you can attempt it yourself.
What you actually need
- For your voice: 60–120 seconds of clean speech. A phone in a quiet room is enough.
- For your face: either 5–10 sharp, well-lit photos from slightly different angles, or a 30-second video of you talking to camera.
- Accounts: one voice-cloning service and one lip-sync/avatar service. Most have entry plans; expect roughly USD 50–100/month total while you're actively producing.
Record the voice sample properly
The model can only learn what you give it. The rules that matter:
- Quiet room, no music, no echo. Soft furnishings beat empty rooms.
- Speak the way you want the clone to speak. If you record a monotone script, you get a monotone clone. Read something conversational, with your natural energy.
- One to two minutes is the sweet spot. More material helps less than cleaner material.
- No other voices in the sample. Even background TV will contaminate the clone.
If you only have old recordings (a podcast, a webinar), you can isolate your voice from them (separating the vocal stem and cutting the segments where only you speak), but a fresh dedicated recording is always better.
Clone the voice
Upload the sample to a voice-cloning service (MiniMax, ElevenLabs and similar all work on this same principle). The output is a voice you can drive with text: write a script, get your voice saying it. Test it with a paragraph you'd actually use, a greeting or a pitch, not "the quick brown fox". Listen for pacing and emphasis, not just timbre; that's where clones usually fail.
Prepare avatar reference frames
The lip-sync model needs to know what your face looks like. What makes a good reference set:
- Sharp focus on the face region: blurry frames produce blurry avatars.
- A single face in frame. Group photos confuse the extraction.
- No burned-in subtitles or overlays if you're pulling frames from an existing video.
- Even, natural lighting. Hard shadows get baked into every video you generate.
If you already publish video, your best source is your own footage: extract the sharpest frames where you're facing camera.
Generate your first talking video
With voice and references ready: write a short script (20–30 seconds), synthesize it with your cloned voice, and feed both the audio and a reference image to the lip-sync model. The output is you, saying something you never recorded, in your own voice.
The first result usually reveals what to fix: a reference photo with odd lighting, a voice sample that was too flat. Iterate the assets once and the quality jump is dramatic.
Common mistakes
- Recording the voice sample last minute in a noisy space. The clone inherits every flaw, forever.
- Using a heavily filtered profile photo as reference. The avatar will look like the filter, not like you.
- Skipping the consent question. Clone only your own voice and face, or with written permission. Most platforms require it, and your audience deserves it.
Where this leads
Cloning yourself is the entry ticket, not the product. The value appears when you connect it to a pipeline: scripts that hold attention, cuts and captions, B-rolls and music, so you can publish consistently without recording yourself every time.
That full pipeline is what I teach one-on-one, using a toolset of 42 AI video skills I built and published myself. If you'd rather compress the learning curve into ten weeks with your own content, the programs are described at pabloschaffner.com/training.